


One of the most notable new features that came along with v12 of Aras Innovator is Dynamic Product Navigation. DPN is a new way to view 3d visualizations, and allows you to view data related to your assembly through Query Definitions and Tree Grid Views. This blog will quickly show off how you can utilize DPN to create powerful views to be utilized in your organization. This tutorial was created using 12 SP4. The process has changed slightly since then (SP6), but a similar example exists in the documentation which you can find in the CD Image. If you're looking for how to set up DPN, our previous blog takes an in-depth dive into what you'll have to do. This Process will require the modification of Query Definitions and Tree Grid Views, so for a basic overview, take a look at this post.
The End Result
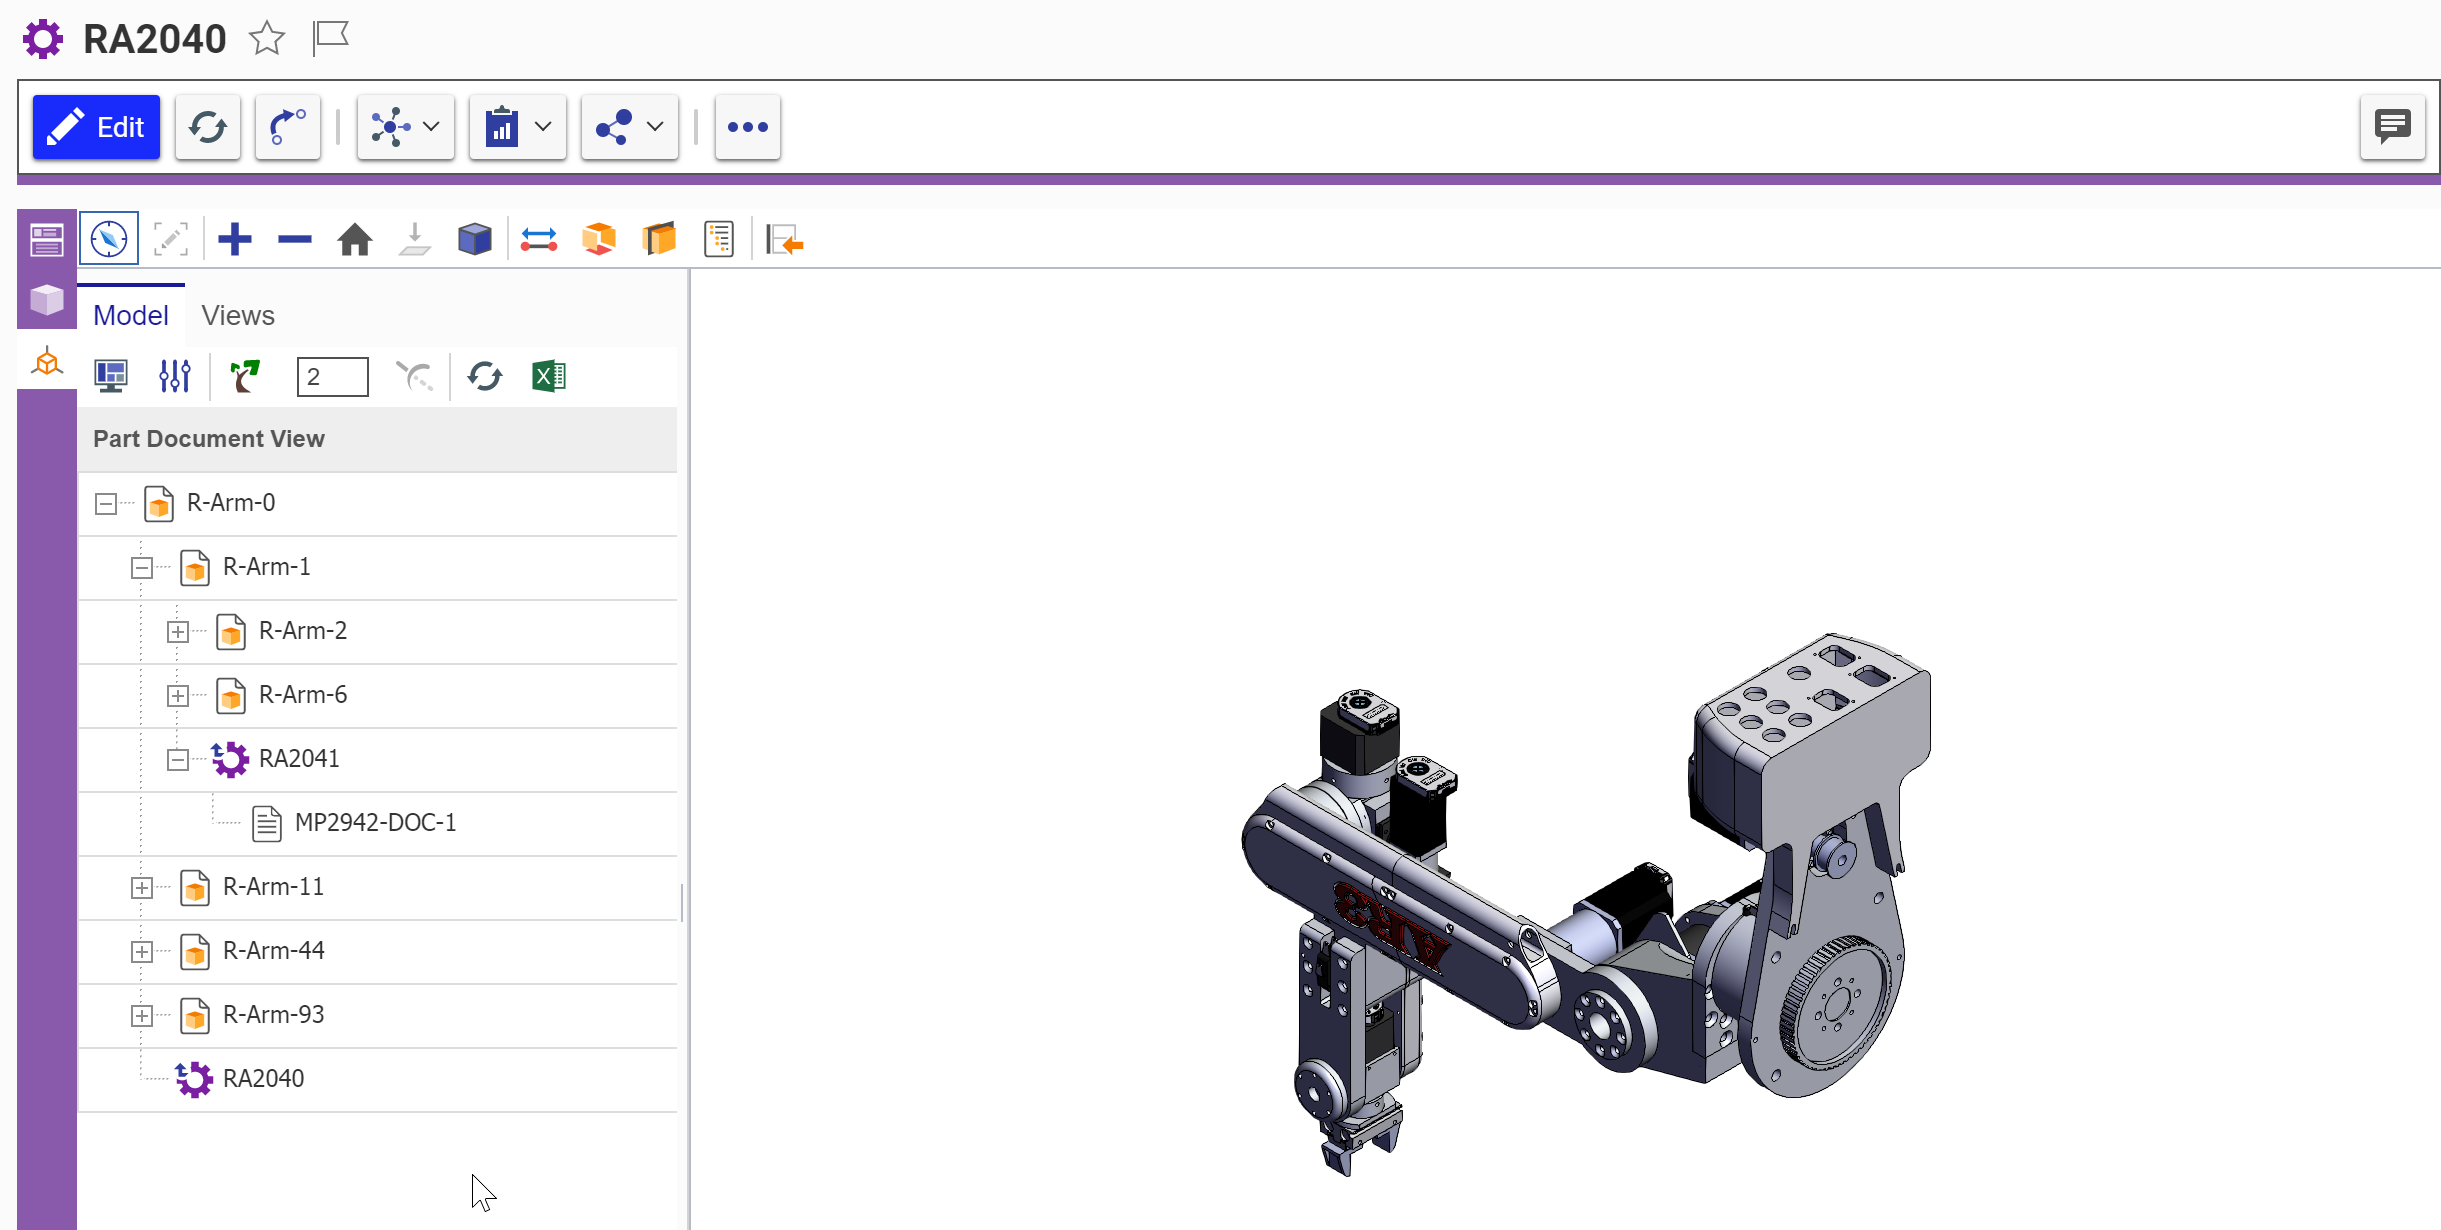
Here’s a quick screenshot of what our view will look like at the end of the process. We have an assembly with the CAD items. From the CAD Items we can quickly traverse to the related Parts, and from there, we can see any related documents. It’s a simple example, but it shows how quickly we can traverse the digital thread starting from the CAD item that makes up the visualization.
The Query
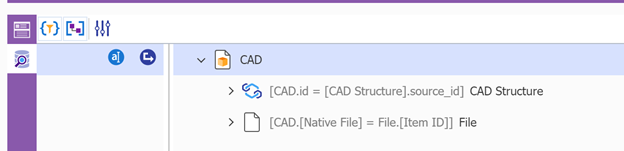
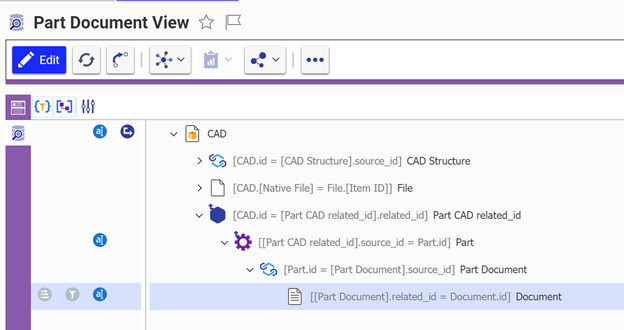
In an instance which is set up for DPN, there will be a Query Definition titled View3D_CAD. The structure of that is very important, and modifying it will break the standard view which DPN uses. To create our custom query, we’ll right click and create a copy of that Query Definition. I’ll name mine “Part Document View”. From here, we’ll go in and add Part Items to the Query Definition using the “referencing item” relationship. We’ll add some properties to Part, and then we’ll add the part document relationship as well. Add some properties to the document ItemType and save. Make sure you’ve added the ID property to all the relevant ItemTypes, as this allows you to right click and view them when they are in the viewer tree.
The TGV
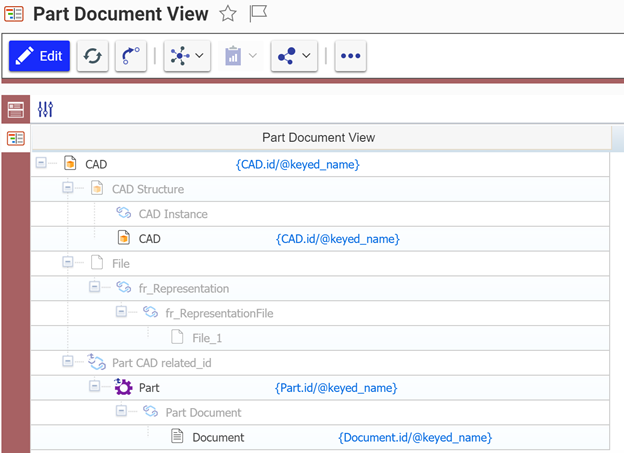
The next step is to create a Tree Grid View(TGV) which goes alongside our Query Definition(QD). This is where we’ll define which parts of our Query are displayed in the DPN view. We’ll go ahead and create a new TGV with the same name as the QD we created. Once you’ve created it, you can start modifying the TGV. You’ll need to map the two CAD items, the Part item, and the Document item. Once the items are mapped, you can go ahead and add the keyed_name under the cell display settings. Below is an image of what the final result will look like.
The Final Step
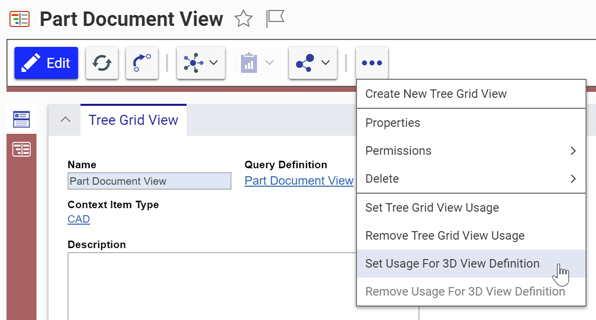
Once you have configured the TGV to your liking, we now have to enable it for DPN. To do this, we will run an action called “Set Usage for 3D View Definition”. This will allow us to see our custom query when selecting to view a CAD viewable using DPN.
Conclusion
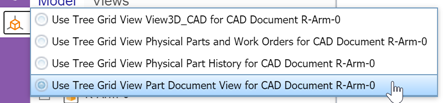
Now once we go and look at a dynamically enabled assembly, we can select the new 3D viewer from the sidebar. Once you’ve selected the correct TGV from the dropdown, you’ll now be able to see your unique view.
Once you've selected the query, you can press the refresh button in the left pane to load your TGV. You'll be able to expand and explore through the data related to your CAD assembly. Let us know what kind of queries you use, and how they add value to your business.