

This article will cover handling item view sidebars in Configurable User Interface (CUI for short) as well as a few general CUI tips. Sidebars are often convenient places to access visual information about an item, and increasingly the Aras Innovator interface itself is built using CUI. Today, we’ll create sidebar buttons for all items, as well as a sidebar button that will only show on Parts.
Screenshots will be taken from Aras Innovator 12 SP 9, and the steps given assume you’re logged in with an administrator account. With that out of the way, let's dive in.
Sidebar For All Itemtypes
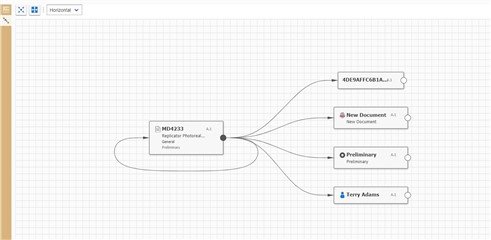
A basic example might be if you want a sidebar to be visible for all items. Not many visualizations will apply to every item, but one such example might be displaying the ad hoc graph--a graph showing the ItemTypes which relate to this item. We want this to be available from every item, and we want it to show in the center of the screen.
- In the Table of Contents (TOC) go to Administration-> Configuration -> Client Presentation and search.
- There should be one result. Click “Global” in the search result.
- Under the “Command Bar Section” tab, open the Global Sidebar.
- Click Edit, then the new button
 in the Command Bar Item grid.
 - Select Button in the dialog and hit OK.
- There should be a new line for your button. (The first line is the form for the item.) For now, lets give this line the following properties:
- Name: sidebar_ad_hoc_graph
- Sort Order: 256
- Action: Add
- For Identity: World
- Right click your new row, and click “open”
- Open the Click Method selector

- Search for “sidebar_default_gv_click”
- Pick an image for when you are looking at the graph. That’s under Image.
- Pick an image for when you’re not looking at the graph. That’s under Additional Image.
- Hit Save both for the sidebar_ad_hoc_graph and for the Global Sidebar.
- Open any item. You should see your new sidebar icon!
Any sidebar you want to make for every item, you’ll follow this basic flow. Are there parts of your process where you want some sort of tool, especially an informational tool, available to you with only a click from the item form? This is a good way to keep that handy!
Sidebar For One ItemType
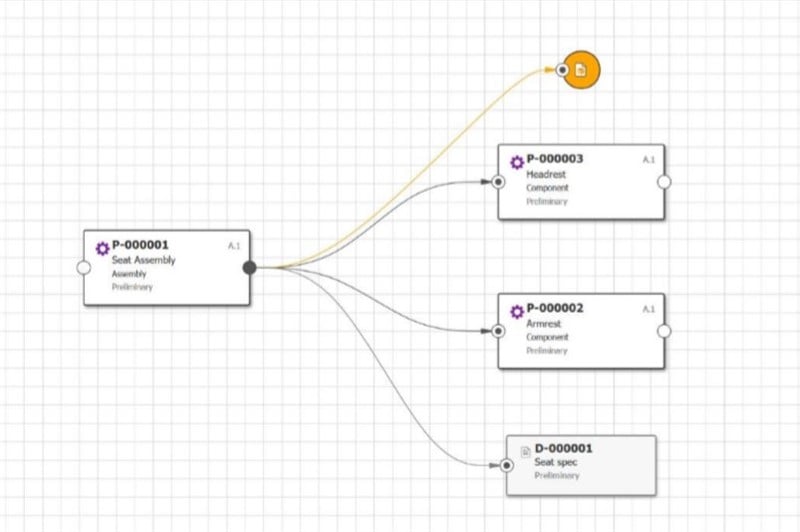
You may find that you want to be more selective. Rather than having a sidebar option always available, you may want it to be present only on items of a certain ItemType. For example, perhaps you want to show the Part BOM Graph from a sidebar option on Parts. There’s no reason to make this apply to all items everywhere- most of them don’t have Part BOM relationships.
- Start by opening the Part ItemType.
- Select the Client Style relationship tab.
- You’ll see a grid under Present Configuration. Right click the row there, and click Open.
- Click Edit in the new tab, since we’ll need to add a button. In the Command Bar Section grid, click the new icon
 and give the row the following values in the appropriate properties:
- Classification: Data Model
- Name: part_custom_sidebar
- Location: ItemWindowSidebar
- Sort Order: 256
- For Identity: World
- Click Save above.
- Right click the new row, then click Open.
- Click Edit in the new tab that opened up.
- Once more, add a new row in the Command Bar Item grid. We want it to have the following:
- Type: Button
- Name: graph_button
- Sort Order: 1100
- Action: Add
- For Identity: World
- Save this, then open our new button by right clicking the row and selecting Open.
- One more time, click Edit!
- In the form for the button, set the following properties:
- Additional Data: { "gvdId": "<graph view id>" }
- Click Method: sidebar_default_gv_click
- Image: pick an image for when you are looking at the graph
- Additional Image: pick an image for when you’re not looking at the graph.
- Click Save
- Open any part. You should be able to see your new sidebar button!
Being able to place a sidebar option on just the ItemType it goes with, without any code, is a powerful tool. It allows for some custom interfaces and tools that are present exactly where you need them and nowhere else.
Conclusions and Congratulations
We created two sidebar buttons, one visible on all ItemTypes and one only available on parts. There’s more things we could do with only small tweaks to the above steps! We could make a sidebar option visible only for certain identities, instead of using the World Identity. We could also pick any method we want, instead of the sidebar_default_gv_click method. The sidebar is a location for what tools you need, but what you use it for is up to you! What are you using sidebars for? Let us know in the comments below!